
How to write a defect report that actually gets fixed
A defect report is a work instruction, not a complaint. It succeeds when a tradesperson who was not on the walk can find the item, understand the remedy, and close it without ringing you. Most reports fail on the description, not the photograph.
8 minute read. Last reviewed .
Why defect reports get ignored
Ask any site manager why an item is still open after three visits and the answer is almost never that somebody refused to do it. It is that the person sent to do it could not find it, could not tell what was wrong, or was the wrong trade.
The three failures, in order of how often they happen:
- No usable location. “Scratch on wall” in a building with four hundred walls. The photograph is a close up of white plaster, which could be anywhere.
- Observation with no remedy. “Poor finish” tells a painter nothing about whether to touch in, sand back and recoat, or replace a board.
- No owner. Sent to the main contractor as a hundred-item block, so nobody sees the six items that are theirs.
Fix those three and the close rate on first visit changes more than any amount of chasing does.
The five fields every item needs
Everything else is optional. These five are not.
- Location, precise enough to stand alone. Not “bathroom” but “Unit 12, ensuite, wall behind the basin, left of the mirror”. The test is whether someone holding only that sentence could walk to the spot.
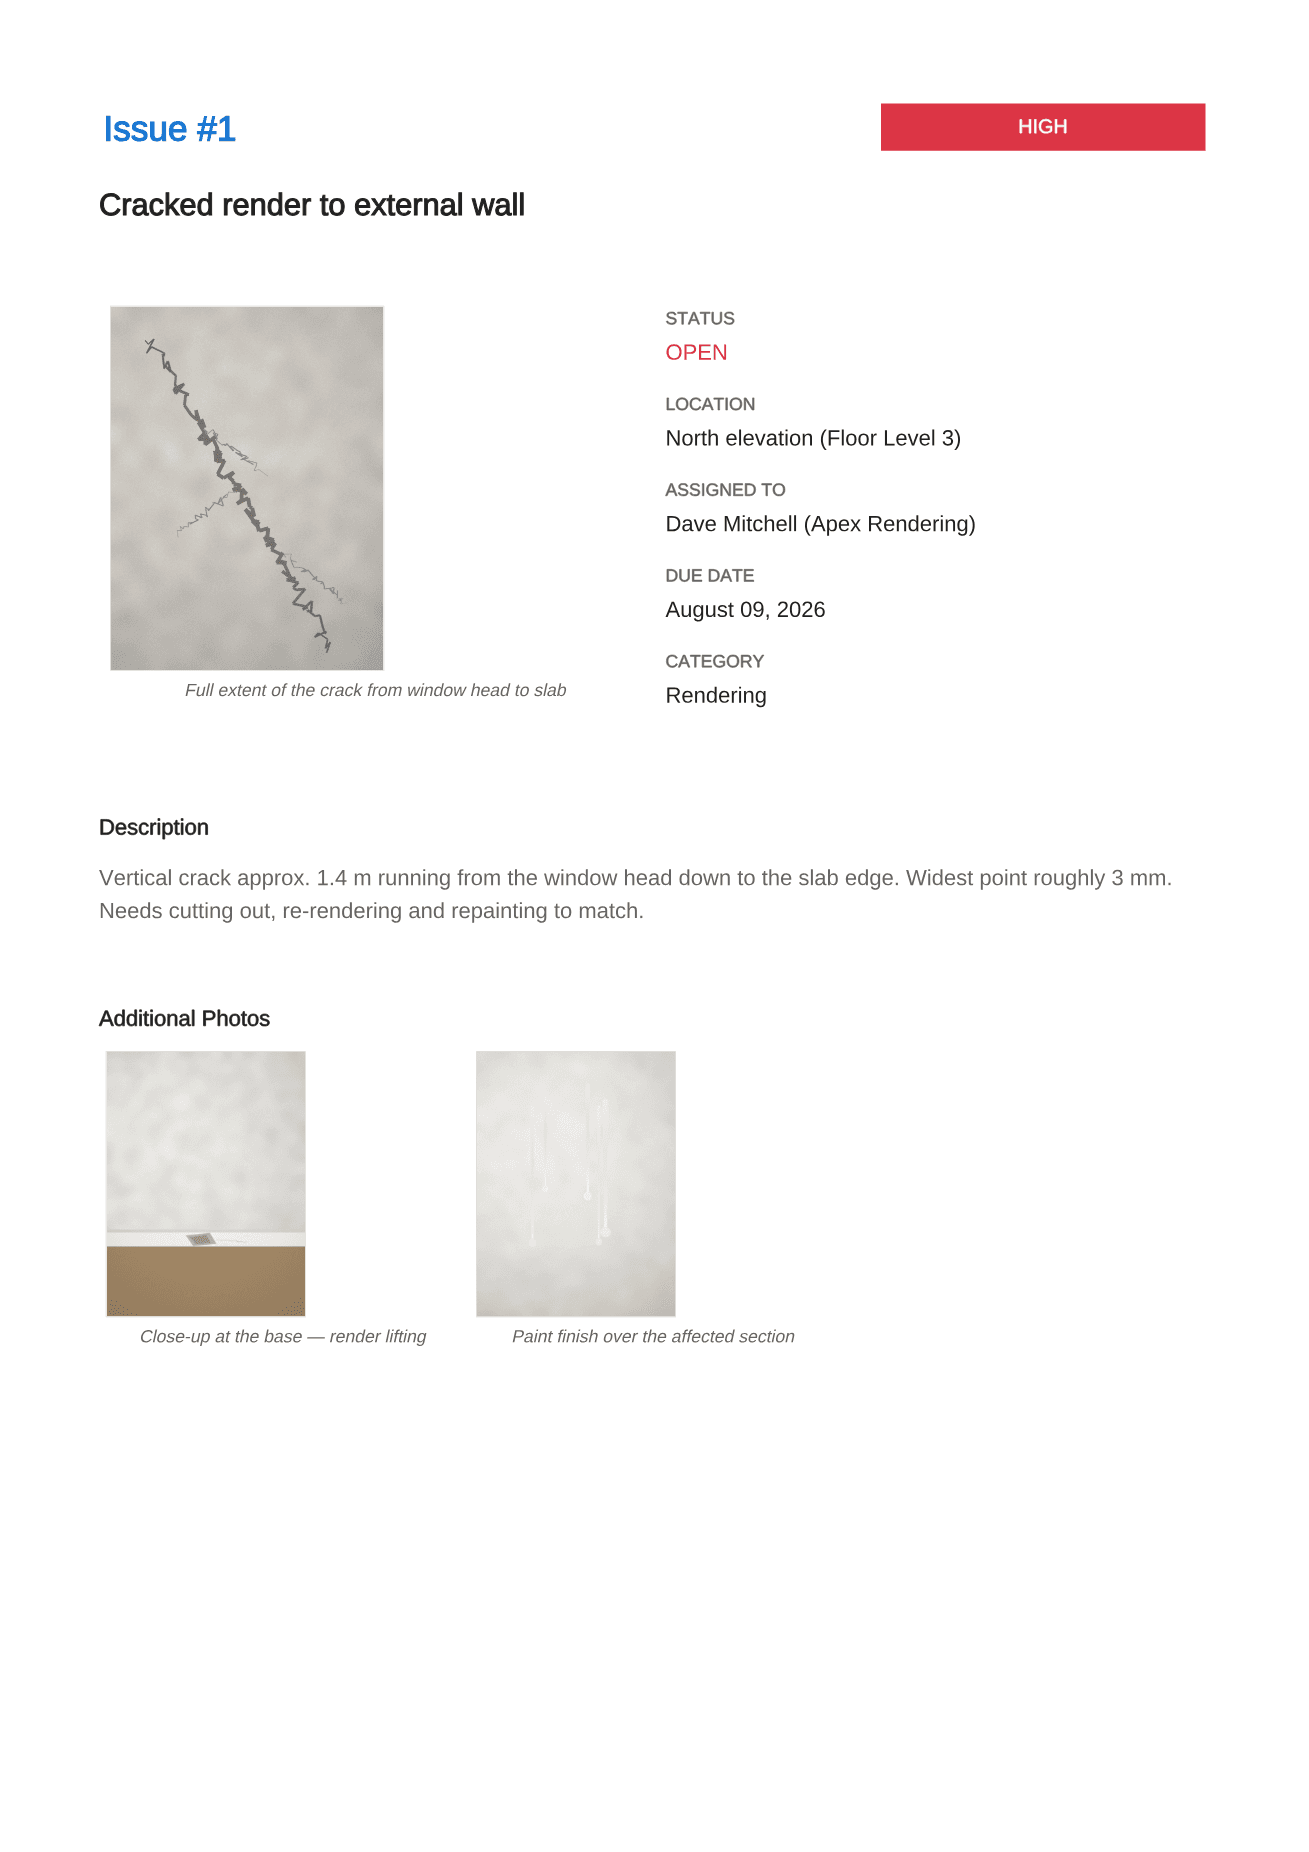
- What is wrong, factually. Measurable where possible. “Vertical crack approximately 1.4 m from window head to slab edge, widest point roughly 3 mm” is actionable. “Cracked render” is a headline.
- The remedy expected. “Cut out, re-render and repaint to match”. This is the field people leave out, and it is the one that decides whether the fix is done once or three times.
- Who owns it. A named trade or subcontractor, not “builder”. If you genuinely do not know, say so explicitly rather than leaving it blank.
- Priority and a date. What has to be done before handover, and what can wait. Without a date, everything is equally urgent, which means nothing is.
Photographing a defect properly
One photograph is almost never enough, and this is the most common practical failure in defect reporting. A defect needs at least two images doing different jobs.
- A locating shot. Wide enough to include a fixed reference: a door, a window, a corner, a unit number. This is the image that tells the trade which room they are in.
- A detail shot. Close enough to show the actual problem, in focus, with something for scale where size matters. A tape or a coin in frame settles arguments about whether a crack is hairline.
- A context shot where relevant. Water staining needs the ceiling above it. A lipped tile needs the run it sits in.
Shoot in raking light for finish defects. A wall photographed straight on under diffuse light will look perfect in the image and defective in person, and the contractor will reasonably say so.
Caption every photograph. An uncaptioned image in a report forces the reader to guess what they are supposed to be looking at, and they will guess wrong. Mark up the image if the defect is not obvious: a circle around the affected area removes all ambiguity for the cost of two seconds.
Priority that means something
Three levels is the right number. More than that and nobody uses the middle ones consistently.
- High. Safety, statutory compliance, water ingress, or anything preventing handover. If it is not one of those, it is not high.
- Medium. Functional problems that do not stop the building being used. Doors binding, taps dripping, extractors underperforming.
- Low. Cosmetic and finish items. The bulk of any list.
The discipline is in keeping High genuinely rare. A list where forty items are High is a list where nothing is, and the site manager will triage it themselves using their own judgement rather than yours.
Structuring the document
A report that gets acted on has three parts in this order.
- A cover with the facts. Project, address, client, inspection date, who inspected, and how to reach them. Reports get forwarded away from the email that carried them, so the document has to identify itself.
- A summary table. Every item on one or two pages, with number, title, priority, status, location and trade. This is what the site manager works from, and it is what gets printed and carried.
- A page per item. Full description, all photographs with captions, the remedy, the owner and the date. This is what the trade works from.
Number the items and never renumber them. Item 47 has to still be item 47 in the third revision, because people will refer to it by number in emails and on site for months. Renumbering a register between revisions is the fastest way to make the whole history unusable.
Keep resolved items in the register with a resolution note and a closure date rather than deleting them. When the same defect reappears, the fact that it was closed once and has come back is the entire argument, and deleting it destroys that.
Who gets which list
The single highest impact change most people can make is to stop sending everyone the whole list.
A plasterer handed a hundred and forty item register containing eleven plastering items will read none of it. The same plasterer handed an eleven item list with their name on it will usually clear it in one visit. Filter the register by trade and issue one report per subcontractor, with the full register going only to the main contractor and the client.
Doing that by hand means rebuilding the document once per trade, which is why almost nobody does it. It is the reason Site Audit has a per contractor filter: assign each item to a trade, then export one filtered PDF for each of them from the same register.
Whether your register is called a snag list, a punch list or a defect list makes no difference to any of this. If you are unsure which term belongs in your paperwork, see punch list, snag list, defect list, and for the inspection that produces the register in the first place, see the room by room snagging checklist.